Alfa Romeo 4C Forums banner

Powerflex lower engine mount bushing

53K views 118 replies 38 participants last post by  Docron  
#1 ·
We have been pestering Powerflex to get this going for a little bit less than a year, and they have finally arrived!! Definitely an area that needed improvement. Way to much movement out of this drive-train!

Image


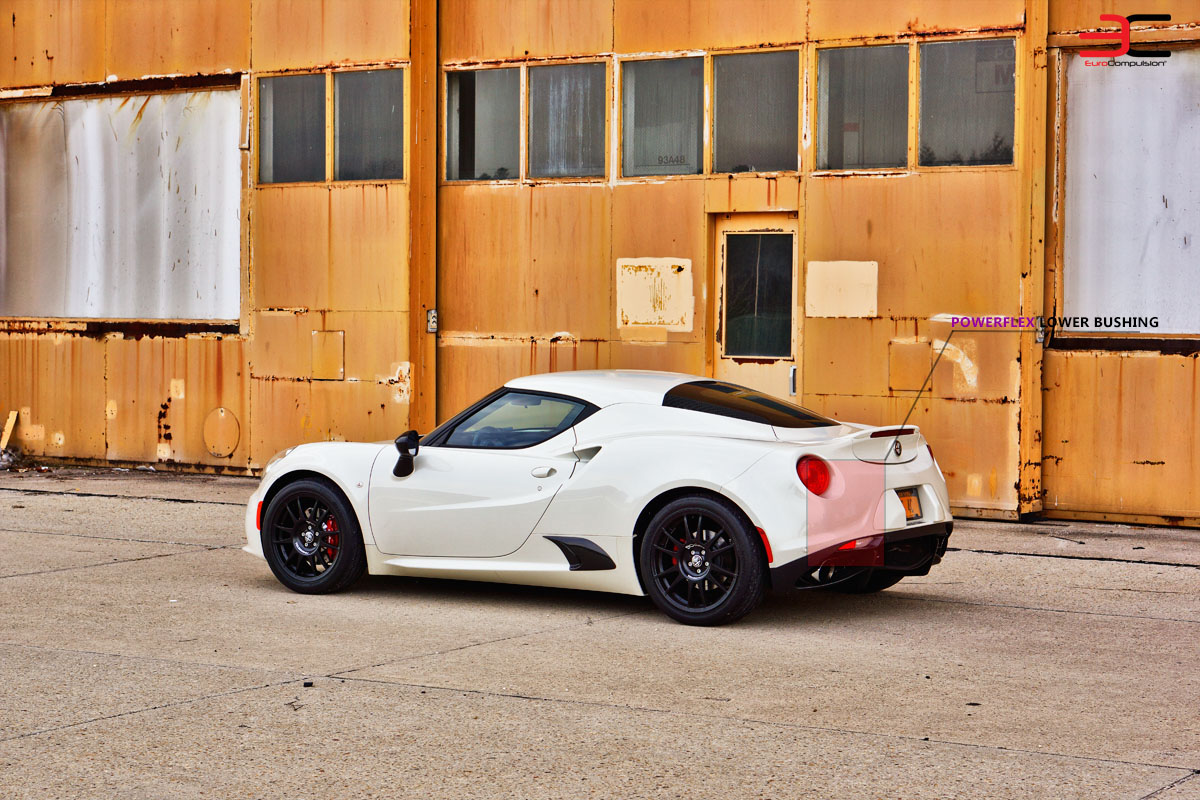
The PowerFlex Lower Engine Mount Bushing Kit for the Alfa Romeo 4C fits into and fills voids in OE Bracket No. 50521924 and 50521925. This Bushing insert is an effective way of reducing engine and transmission movement, improving power delivery and sharpening gear shifting. Gains can be seen in power transfer to the road whilst reducing stress placed on the exhaust down pipe, hoses and wiring. Two mounts are available for the car, a Yellow Bushing for Street use and a Black bushing for Race use. The Yellow Bushing will have a minimal impact on NVH (Noise/Vibration/Harshness), while the Black Series Bushing places precedent on maximum performance.

FEATURES:

Reduced Drive-train Movement/Flex
Increased Drive-train Efficiency
Sharper Throttle Response
Sharper Transmission Shifts
Decreased stress on Auxiliary Engine Components
Excellent Bang for the Buck
YELLOW=STREET USE
BLACK=RACE/TRACK USE

Image


Priced at: $28.79-$32.49

More Info: https://shopeurocompulsion.net/products/powerflex-lower-engine-mount-bushing-kit-alfa-romeo-4c
 
#4 ·
I purchased both a yellow and black insert and they are on the way and in my typical way, will snap pics along the way of install in a DIY format including necessary tools and torque specs. They hopefully should be here Saturday and might try install on Sunday pending a potential roadtrip.


I am going to start off with the Yellow (street) insert first and provide my personal impressions of tangible feel including any increase in NVH. Then, I will do the same with the Black (track) insert.


My next track day isn't until mid August so I have some time to test both of these inserts on the street both casually and spirited(ly). :)
 
#5 ·
I got one of these from EC for my 500 Abarth, and it made a HUGE difference! Granted, completely different car with front engine / manual shift, but still. Same concept! Not sure about the 4C, but it was a massive PITA to install on the Fiat. Well worth it though, crisper shifts, much less engine movement. And for the money you can't go wrong!!
 
#8 ·
Looking forward to your impressions, @Docron.

Hoping this is an easy install (though, realistically, it probably wont be) but it would be great to swap to the black one for track days and use the yellow day to day.

Exactly my thinking.... :)


However, if I find the Black insert not to be much different, for simplicity sake, I will just leave that one in.
 
#9 ·
BTW, for those interested, the section for the process of accessing the engine mount where this inset goes is in this section of the Service Manual CD


09 - Engine, 1.8L I4 16V Turbo / Engine Mounting / INSULATOR, Engine Mount, Rear / Removal and Installation


;)
 
#42 ·
Find this video it helps a lot.
From the video you can see the bolt has a lot of movement in the engine mount hole, is it possible to insert a metal sleeve to it to reduce the movement?

https://youtu.be/tcSweYCuv1M

This is the video I was referring to about "adjusting the handling by offsetting the drive shafts"

Anybody can explain more on that please?
 
#22 ·
The rear diffuser & rear underbody tray bolts have loctite on them, once you remove that panel a "few" times, becomes much easier. ;)

These arrived today....will have time to install Yellow tomorrow. ;)

Image
 
#24 ·
I second that! Doc, keep us posted on how the yellow improves the engine flex/movement. The beauty of this, all you have to do is look in the rear view mirror. All I see whenever I look is the engine shifting fore and aft under heavy braking or acceleration! Let's hope this really works with minimal add of additional noise/vibration.
 
#25 · (Edited)
Okay a BIG WTF to Alfa! I ordered the yellow one before they were available from EC, direct from UK. Took about 3 1/2 weeks to get them, showed up this week. So I watch the install video and they show how loose the bolt is in the mount!!!!!!!!!! I'm thinking Alfa must have left a spacer out of his car or something. Nope about 3/16" slop!!!!!!!!! So I think no way am I even gonna bother putting this in with this much slop! Long story short I look through my miscellaneous crap bin for some type of spacer. Nothing there. So I run up to Lowe's with bolt and measurements in hand. 3/8" x 1 1/2" black steel pipe nipple looks like it will work. Get it home and pretty darn close. Most people would be happy with the fit but I took a stainless screw clamp and cut 2 pieces long enough to fit the circumference and tapped everything together with a hammer. I'm pretty happy with the fit now. Would be nice if Chris would have some spacers made up and sell them together for more with the bushing. I would have definitely paid extra for it.

Oh by the way it will probably take about an hour without any stopping first time through and I didn't need to remove the diffuser.
 
#26 ·
Alright.....ready? DIY commencing.....please pardon the interruption.... :)
Btw, great mod for $29!

1. Remove rear diffuser and underbody panel. All Torx head bolts are T30, 4 Allen head bolts and 3 phillips screws.
*tip* do NOT remove 4 bolts on fins in red, remove 4 allen head bolts in yellow. Lining up those 4 bolts on reassembly is a PITA. ;)

Image

Sorry, i thought i had a picture of the underbody tray....
 
  • Like
Reactions: John4C
#27 ·
Remove the metal cover plate that sits below the rear mount. 4 T30 Torx bolts with some mild Loctite.

Image

Image


Exposing the rear mount covered with the heat shield.
Image


Clip is easily removed lifting open sode of clip on driver side. No fasteners, no retention system ;)
Image

Image

Image


*tip* be careful when heat shield as it is a *thin* heat reflective tape MOLDED piece that if bent repetitively, will fatigue, crack or lose its form. ;)
 
  • Like
Reactions: John4C
#28 ·
Ok....shimming the crankcase. If you watched the video, you can see how the engine will more and misalign the bolts holes on reassembly. I tried to shim it but no matter what you use or how you shim it, the shim will fall out. What's good is that you can use a pry bar or breaker bar to move engine forwards using the chassis as fulcrum to realign the bolt holes vey easily.
Image

Image


Identify 2 bolts to remove.
Using Torx/Star socket, loosen rear side of mount bolt. Becuase it is torqued pretty tight, you will have to use an impact wrench or what i did, a Breaker bar. Loosened up pretty nicely with breaker bar.
Image


For forward horizontal bolt/nut, because i had car up on ramps and not a lift, there was little space for me to use breaker bar, so i pulled on nut wrench with my hand while pushing on bolt head rachet with my foot slowly and gradually. The bolt eventually broke loose. ;)
Nut is 3/4" and bolt head is 15/16". Make sure you have adequately sized sockets or wrenches. ;)
I have MF Corsa exhaust and there was adequate room for pass through socket as well as bolt removal. i did have to push the midpipe a teeny bit up to be able to remove bolt.
Image

Image
 
  • Like
Reactions: John4C
#29 ·
Please take careful note the bolt / washer / mount / washer / mount / nut order for reassembly. :)
Image


Now you can wiggle out the rear mount after removing the bolts.
Be aware of the metal bushing on TOP of the back part of the mount. ( i will post pictures of this spacer as it will clear up some misinformation IMO)
Image


Again, take note of the sequence of the horizontal bolt and respective washers for proper reassembly. :)
 
  • Like
Reactions: John4C
#30 ·
Let's discuss what Spiderman posted about and illustrate it and how that install video is a little misleading.

As you can see, the vertical rear bolt is NOT free floating in the rear mount to travel the ~1" diameter in the rear mount. There is a SS bushing on top of the rear mount which keeps the bolt aligned in the hole. Loke Spiderman said there is about a 3/16" gap that the bolt could probably move but this is probsbly down to mitigate any increased NVH (noise, vibration, harshness) for the driver.

I did study the interior edges of the bushing, inside the bushing itself as well as the bolt and there were absolutely no bolt markings or signs of wear on the bushing or the bolt. Once torqued down, the only thing that should move is the bushing insert itself. So the video was a bit misleading IMO.

Image

Image

Image
 
#34 · (Edited)
Docron may not have any marking of the inner race of the mount but the first thing I did was check the inside of my mount and you could see where the bolt had made contact just like in the video. Probably the result of 1.77 60 ft times at the dragstrip but to me this is totally unacceptable. Please be aware that the only thing centering the rear part of the mount is the sandwiching effect and there is nothing actually centering the bolt.

Also by stiffening the mount by adding the insert my guess is that the chances for movement would be much greater especially with the black insert.
 
#31 ·
Now that you have the rear mount out, the instructions state to remove any excess rubber tags inside the mount where the bushing will insert. So take an Xacto or blade and clean up the interior of the rear mount.
Image

Image


Using the instructions as a guide as well as the metal tab on the mount itself, press fit the Pwoerflex into the mount. It should slide in very easily. :)
Image

Image

Image
 
  • Like
Reactions: Call me Al
#32 ·
Take a few seconds to reorient yourself all the bolts and washers before reassembly.
Again, not that with the SS bushing/spacer on the rear mount, the vertical bolt has very little play.

Image


Shimmy the rear mount back up with spacer/washer on rear bolt hole. You can assist in lining up the bolt hole with the spacer and the chassis nut with a skinny screwdriver to move the spacer into place. Loosely tighten vertical bolt until you insert the horizontal bolt.
For front horizontal bolt, you will have to wedge the crankcase forward against the chassis I showed earler to align the bolt hole but should be easy to move.

Per AR specs out of the service manual, torque bolts to 60 ft lbs.

Image

Image

Image


Replace molded piece of relective tape on top of rear mount carefully, reclip.

Reinstall underbody panel and rear diffuser.
*tip* install all bolts in underbody panel before completely tightening...if one is off a little, you might have to loosen all of them to realign. ;)
Also, make sure to go back and recheck bolts for final tightening, you can miss one and have to chase a rattle/vibration mouse. ;)
 
  • Like
Reactions: Alfanut and 4Canada
#105 ·
Take a few seconds to reorient yourself all the bolts and washers before reassembly.
Again, not that with the SS bushing/spacer on the rear mount, the vertical bolt has very little play.

Image


Shimmy the rear mount back up with spacer/washer on rear bolt hole. You can assist in lining up the bolt hole with the spacer and the chassis nut with a skinny screwdriver to move the spacer into place. Loosely tighten vertical bolt until you insert the horizontal bolt.
For front horizontal bolt, you will have to wedge the crankcase forward against the chassis I showed earler to align the bolt hole but should be easy to move.

Per AR specs out of the service manual, torque bolts to 60 ft lbs.

Image

Image

Image


Replace molded piece of relective tape on top of rear mount carefully, reclip.

Reinstall underbody panel and rear diffuser.
tip install all bolts in underbody panel before completely tightening...if one is off a little, you might have to loosen all of them to realign. ;)
Also, make sure to go back and recheck bolts for final tightening, you can miss one and have to chase a rattle/vibration mouse. ;)
Sorry to bring this back from the dead. I'm in the middle of putting my car back together.

Just to be clear, the metal SS bushing is NOT reinstalled, correct?
 
#33 · (Edited)
Initial impressions...
Very good mod for $28-32!!!

-NO increase in NVH at all with Yellow insert during casual or spirited driving.

-More responsive throttle response
-Crisper shifts on hard acceleration through lower gears
-butt dyno seemingly feels like more power but i think it is just less drivetrain loss during hard acceleration.

Definitely less movement visually of engine through rear window during hard acceleration.
No palpable feel or adverse NVH during casual driving or cruising whether in Natural or Dynamic.
With 25-50% throttle from 1st to 4th or in same gear acceleration, no real palpable difference.

Feels like smoother shifting through lower gears on hard acceleration.
Ironically, i personally liked the kidney kick during shifts but with insert, the kidney kick seems less. :( lol

I'd be curious to see what this does in Launch or at the Quarter mile. ;)
I dont have anywhere open enough around my house to safely do Launch.

I'm gonna drive around with the Yellow for a week or so and see how it feels.
I will install Black insert next weekend and see how that compares to The Yellow. I'm actually really excited to see how the Black insert does... ;)

Overall, a very good mod for $28-32. :)
 
#35 ·
Oh yeah.... install time.
Took me about 90 minutes but I stopped a lot for taking pictures, trying different tools as well as removal/reassembly process analysis. ( as well as my dogs dropping the tennis ball at my feet wanting me to throw it while i was laying under the car)

One could do this install in about 60 minutes.
 
  • Like
Reactions: 4Canada
#37 ·
I don't really care if someone uses my method to remove the potential for movement. But the video was not misleading as I experienced the same thing and to me it is undesirable and I believe everyone should know the potential is there.

By the way I appreciate the time you spent putting this install together.

One more thing. If you think the way the Alfa engineers put things together is the best way, why are you modifying your car?